How to Take Self Portraits
Including a bonus tip on HOW TO FOCUS on yourself for your self portraits!
Table of Contents
Long before the term selfie was coined, photos of yourself were just called self portraits. And if you’ve ever wondered how to take self-portraits (or even time-lapse videos), you’re in the right place. Here I’ll go over the different options of taking self-portraits with your phone vs a camera vs a drone, remotes, and intervalometers that can help, as well as some other tips and tricks.
Tools you’ll need to take self portraits
A tripod or something stable and level to set your camera on (I use a lot of rocks and car hoods)
A remote/intervalometer if your camera doesn’t have one built-in OR
A 2/10 Second Drive Mode on your camera OR
The free Canon Camera Connect app or a Nikon/Sony/Fuji alternative
How to Take Self Portraits With A DSLR
There are four different ways you can take self portraits with a DSLR camera. I’m going to be using the Canon 5D Mark IV as an example because its the camera I use, but I’ll go in-depth with how you can take them even if you don't have a camera with wifi. If you don’t shoot Canon, the instructions are about the same, the settings may just be in different places. I shoot every self portrait with my camera stable on a tripod, so always be sure to note wind, cliffs your camera could tumble down, or any rocks around in case something happens and your tripod falls over while you’re too far away to catch it.
For all self portraits, the trickiest part is nailing the focus. There are two tips to help with this -
Try to keep your aperture above f/3.5 or higher (f/5.6, f/8, etc). Allowing less light into the lens and therefore a deeper depth of field means that if your focus is slightly off, its less noticeable than if your aperture were somewhere around, say f/1.4.
Place your camera and tripod where you want to take the photo. Compose your image and try to approximate where you will be standing in the photo. Now, take your camera off your tripod, go to where you want to stand in the photo, and manually focus on your tripod. Take your camera back, set it on the tripod and viola. If you can make it back to where you stood, you should be in focus.

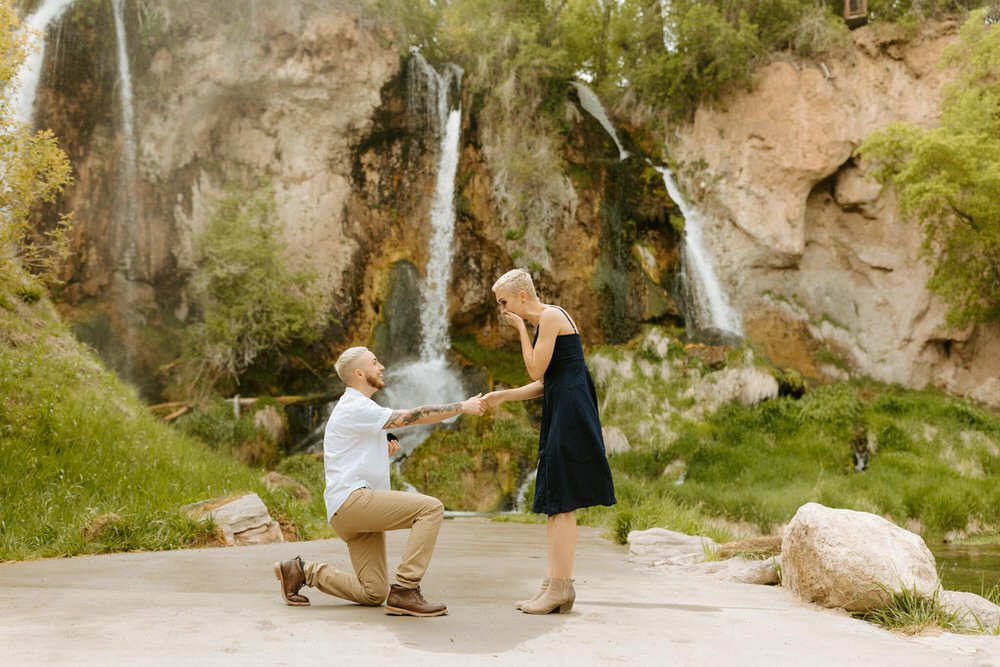
How to Take a Self Portrait With a Remote or 2/10 Second Timer Delay
For this option you will need a camera with a Drive Mode of Self-timer: 10 Sec/Remote, or 2 Sec/Remote. You can also do this without a remote, but if you would like to purchase the Canon infrared remote, there are a few options. The cheapest is the RC-6 at $30, with a range of only a few feet. Next is the BR-E1 at $50 with a range of 16 feet. The best but most expensive is the this with a range of 300 feet. Make sure the remote is compatible with your camera before you purchase. This is the quickest and easiest way to take self portraits and it’s what I use if I’m in a hurry and don’t need it to be perfect.
Navigate to the drive mode (usually a rectangle) and change it to 2 second or 10 second delay.
Choose the delay time that works best for you depending on how far/fast you can and need to run to get into the shot! If you have a remote, I suggest the 2 second delay.
Ask a friend to stand in for you so you can nail down the focus, or focus on something that is the same distance. It’s also helpful to keep your camera around f/3.5-f/5.6 or higher so if there is a slight miss in focus, it won’t be too bad (nothing is worse than out of focus photos, especially when trying to photograph yourself!)
Hit the shutter and run to your spot, or walk to your spot and press the button on the remote! Then review the image and change your posing from there.
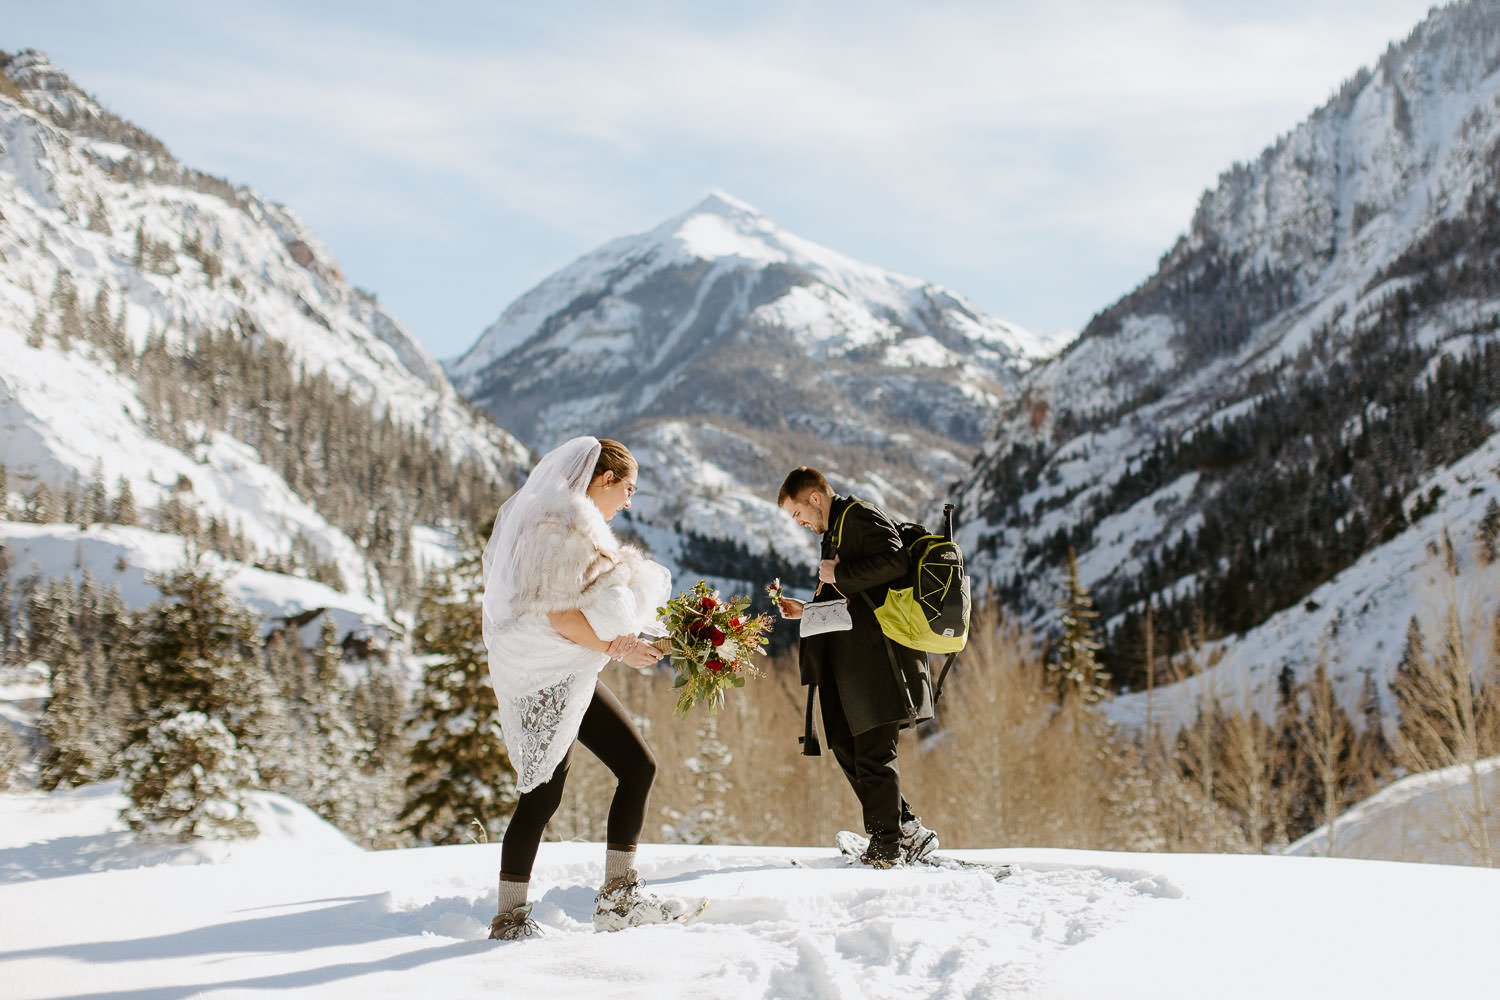
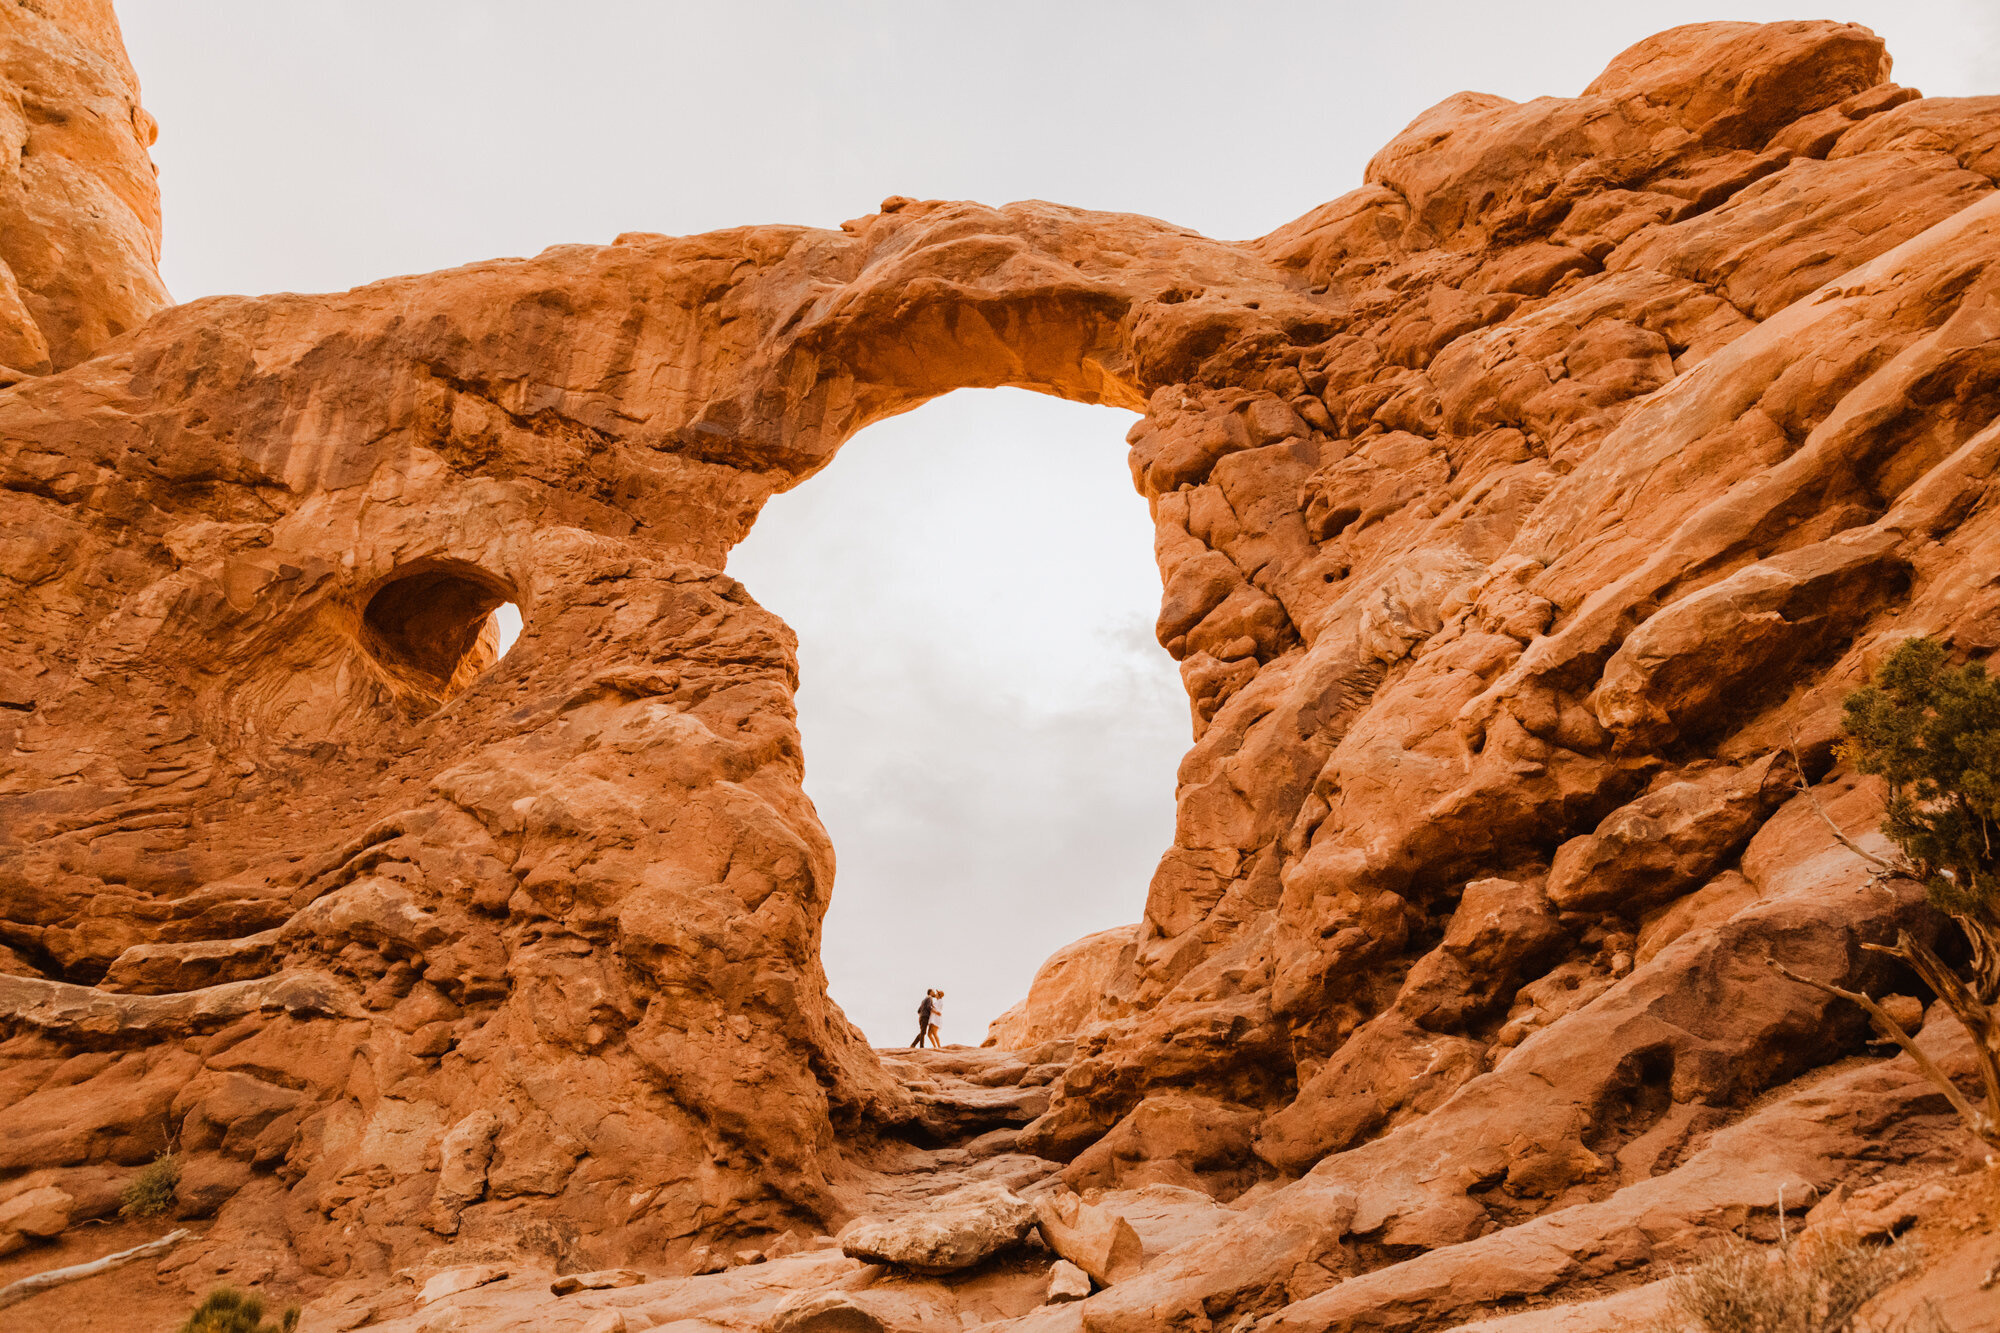
2/10 second delay example & settings

Canon 5D Mark IV Drive mode 10 second timer, 24mm ISO 100 f/2.8 1/2000 second
I set the camera on a rock, set the timer, composed, focused on Keith, hit the shutter, and ran.
How to Take a Self Portrait With a Wifi Capable Camera & the Canon Camera Connect App
This is one of my favorite way to take self portraits as you can always ensure you are in focus and then review the photo immediately after taking it. You don’t need an expensive camera to have Wifi capabilities too, many Powershot and EOS Canon cameras include it now! I like to use the app if I am just staying in one spot as the focus is often laggy.
Download the Canon Camera Connect app from the App Store.
Navigate to your camera settings to turn on its Wifi, connect your phone to your cameras wifi
Open the Canon Camera Connect app and click remote live shooting (live view on your camera will have to be turned off for this!)
Use your phone to compose yourself in the shot, click on your face or wherever you want the camera to focus (or click the little AF button if you have back button focus on like me)! Viola.
Some tips: use 2 second delay so you have time to hide your phone. You can also change all your camera settings right from the app (like ISO, aperture, and shutter speed), as well as review the photos you just took in the app. If you hold down the “shutter button” on the app, it will also fire away at high speed so you can capture some awesome movement & time-lapses that you can stitch together in Photoshop later (like the one above)!
canon camera app example & settings
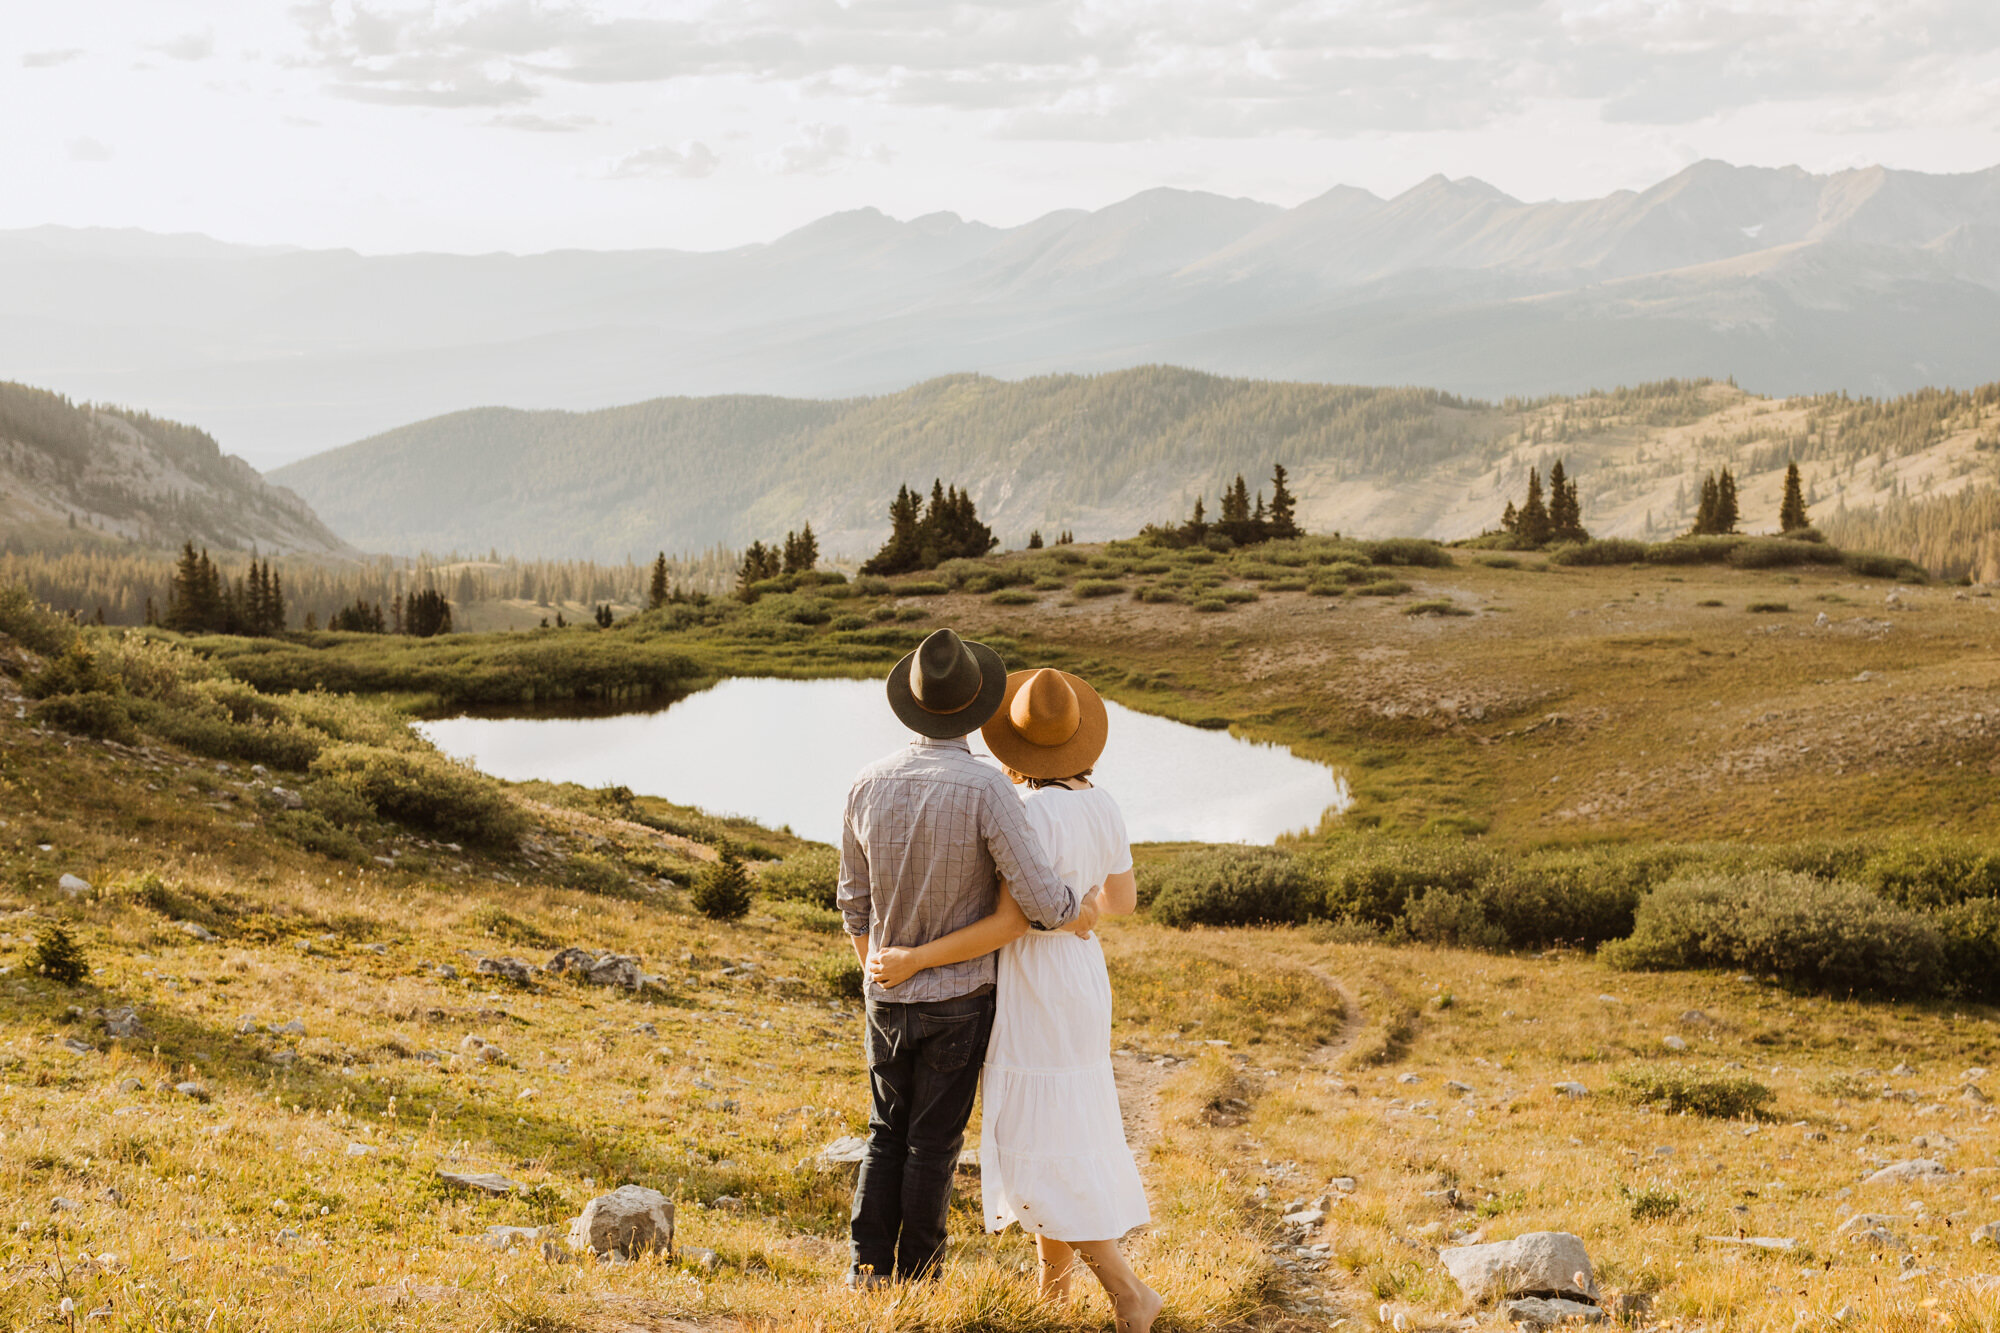
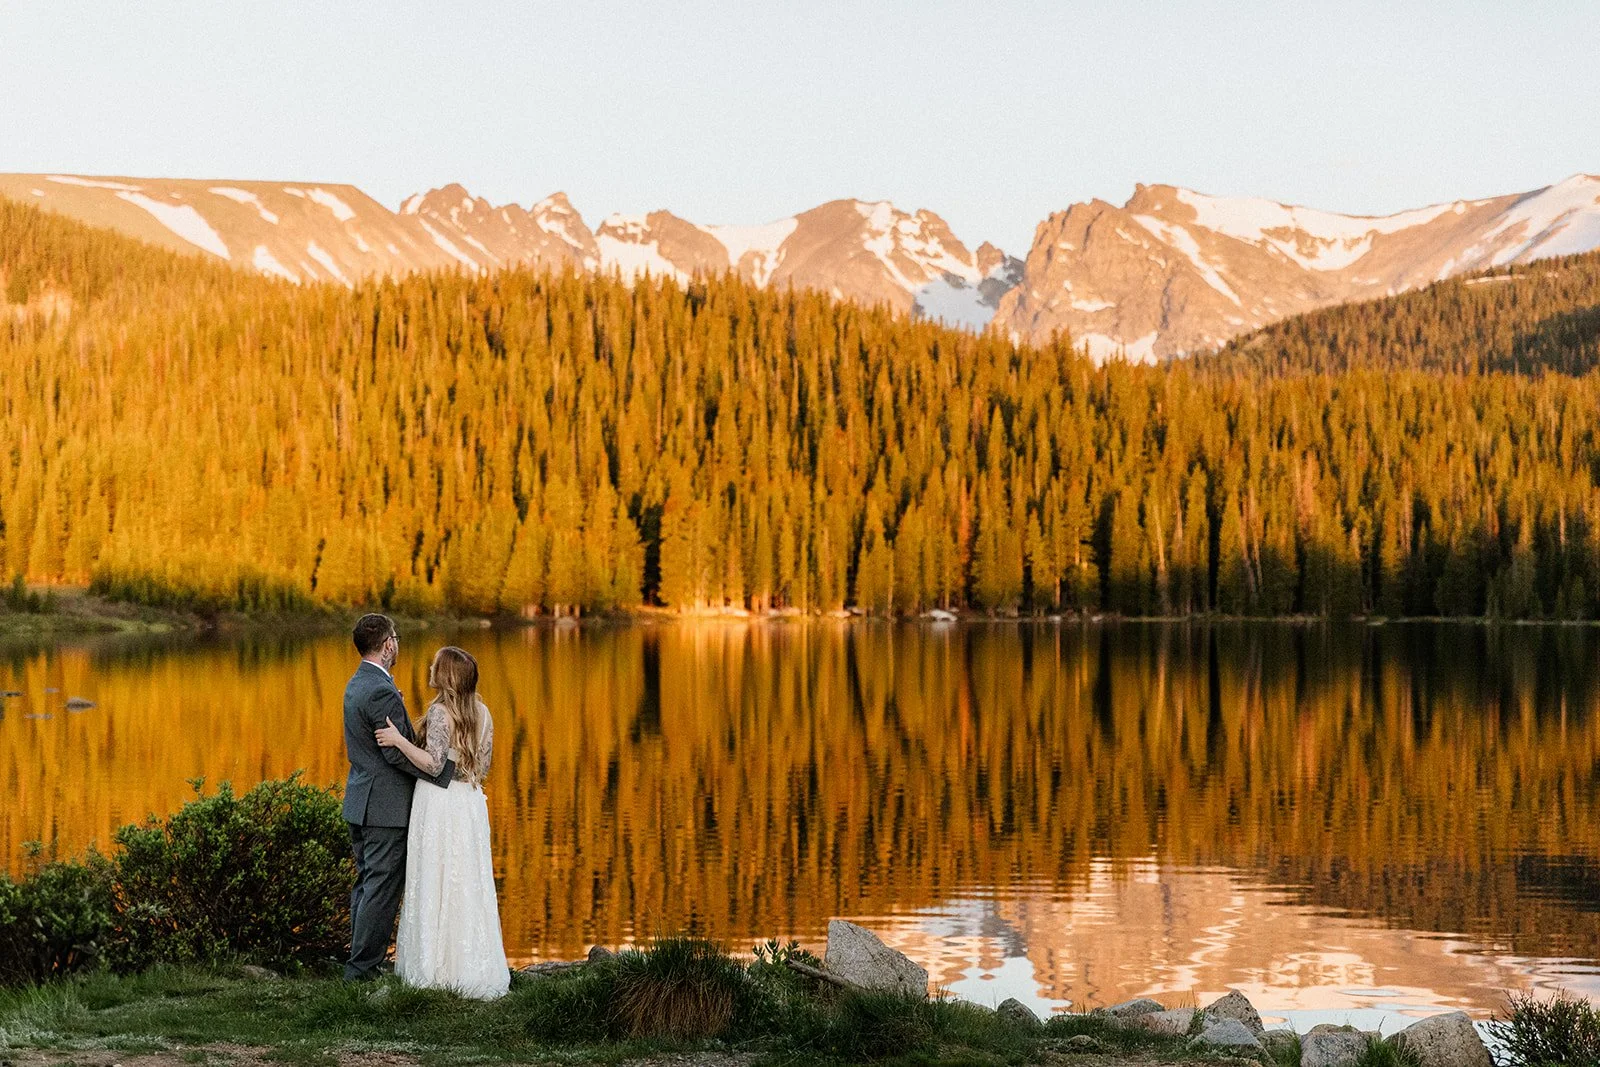
Canon Camera Connect App and Canon 5D Mark IV (you can see my right hand is up because I’m holding my phone to press the shutter button)
50 1.2 lens
ISO 500
f/5.6 because I wanted the lake and mountain range to be is decent focus
1/1000 second so we could move every second and not be blurry

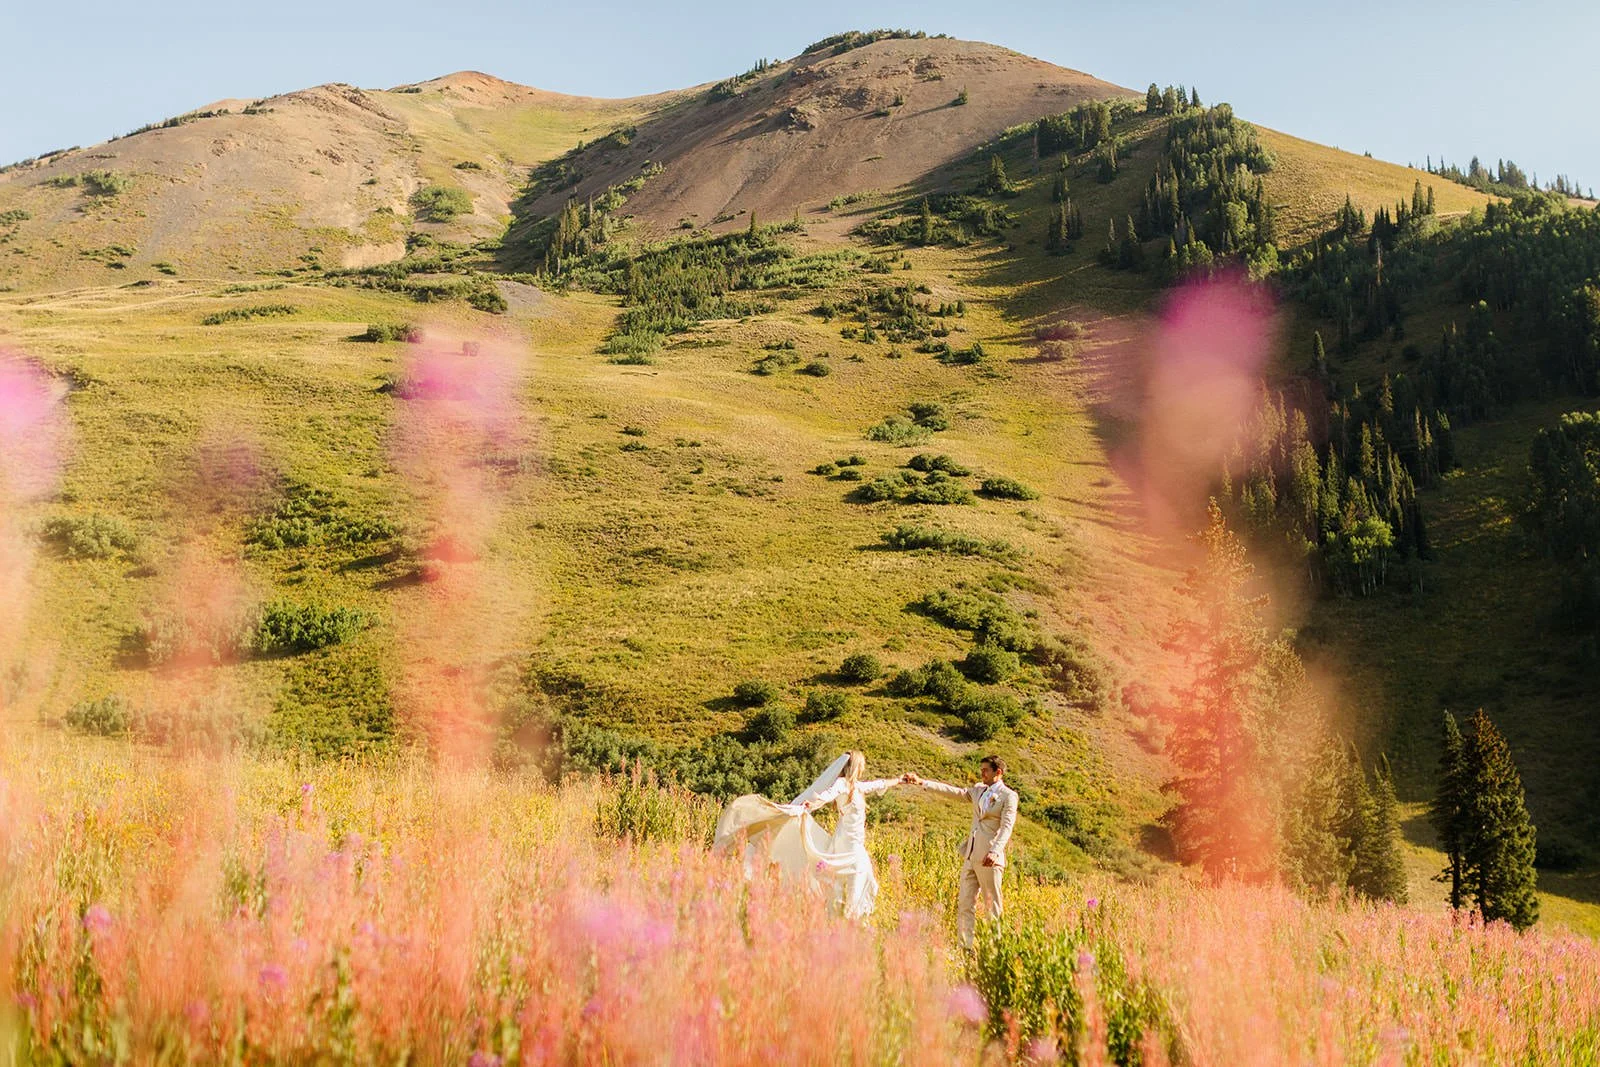
Camera Connect app over wifi with a Canon 5D Mark IV
16-35mm lens at 24mm f/7.1 at 1/2000 second
My camera was perched precariously crooked on a log for this one which I straightened in post

Canon 5D Mark IV and the Canon Camera Connect App (see my phone in my right hand!) with a 2 second delay
ISO 800 16mm f/22 .5 seconds because I wanted the water blurry but also we are clearly not in focus so the joys and tribulations of self portraits

Camera Connect App over wifi with a Canon 5D Mark IV
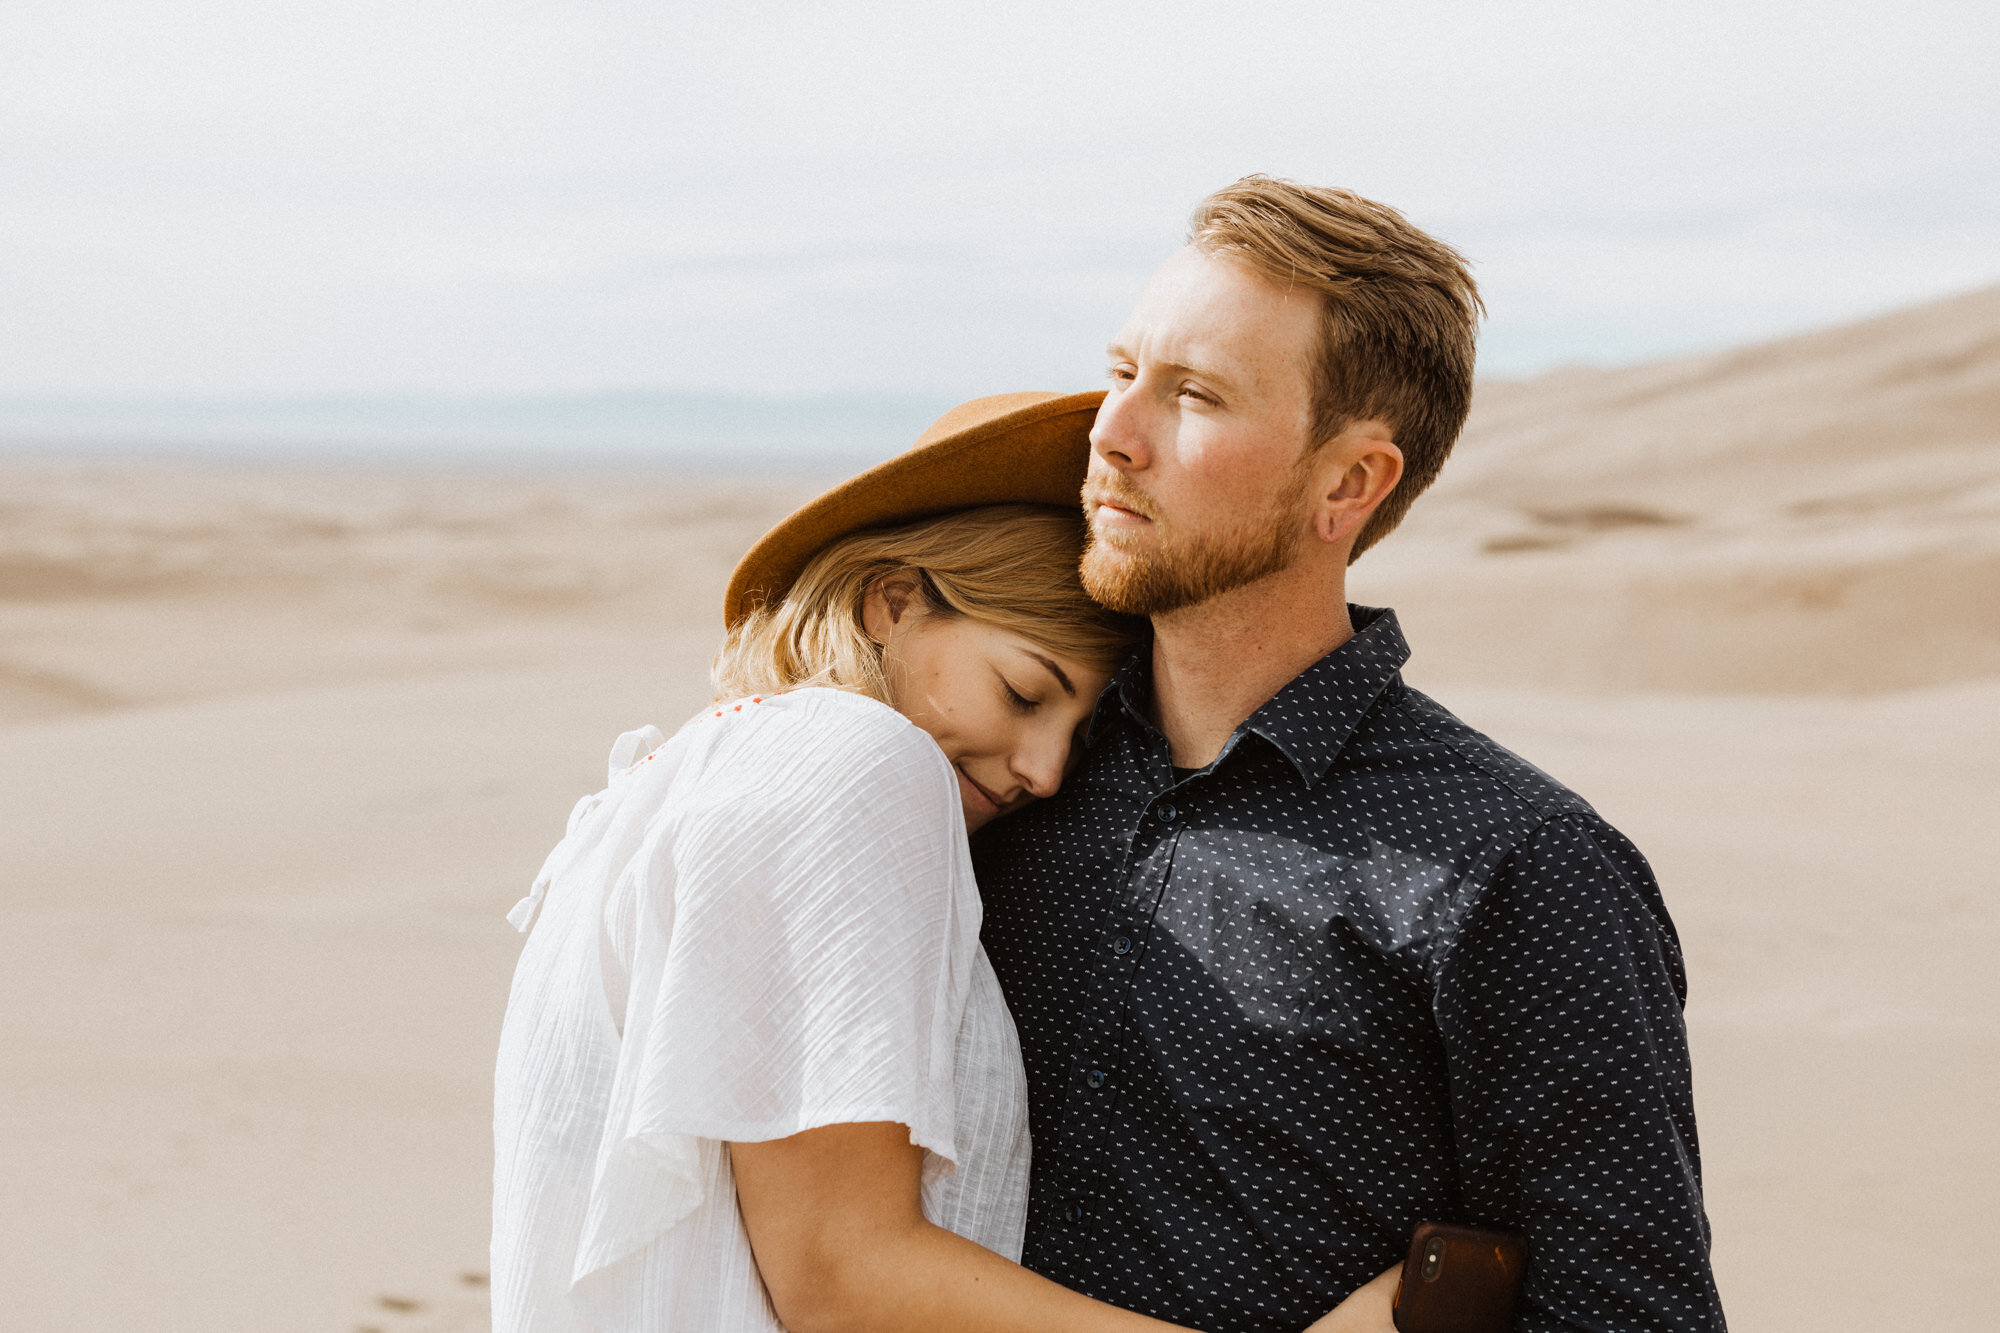
Canon 5D Mark IV and the Canon Camera Connect App over Wifi with a 2 second delay (you can clearly see my phone ha!)
70-200 lens at 70mm, f/5.6 at 1/160 second
How To Take a Self Portrait With a Plug-In Intervalometer
Purchase an intervalometer. I recommend the same brand as your camera as they can be unreliable otherwise. I purchased mine off of Amazon and the port connection is finicky and doesn’t like to work unless I wrap a rubber band around it to help tighten it, so I recommend actually reading the reviews before you purchase one. The one I got was a $50 from amazon but Canon also has this one if the price isn’t a factor for you.
Adjust your intervalometer settings according to your needs. Most offer the ability to have a delayed start so if you have to run 100 feet, you can set the delay to 30 seconds - then have the camera fire every second (the trick is though that they can be finicky so you could get 100 feet away, assume your camera is firing, and its not, womp womp. So I recommend having it set to 1 or 2 second delay start and then just cull out the photo of you running to your spot so you can ensure its actually working). You can also use the intervalometer for long exposure, or time-lapses. Read up on the settings of your intervalometer to adjust accordingly.
Plug your intervalometer into the N3 port or whatever port is compatible with your camera
Because I had an off brand intervalometer, my port connection was bad 70% of the time. I always fired off a test round when starting out just to make sure the connection was good. If you have an on-brand one, you can probably skip this step unless you want to ensure the intervalometer is working.
Press the big round button on your intervalometer and go! To stop it you just press the button again (or set the max number of seconds/minutes/number of photos.)
How To Take Self Portraits With a Built-In Intervalometer
This is another of my favorite ways to take self portraits as many DSLR cameras now have a built-in intervalometer, like the Canon 5D Mark IV. I’ll use the built in intervalometer if I want us to run around a lot, OR its a wide shot, as I don’t have to worry too much about the focus.
On the Canon 5D Mark IV, navigate to your Menu - > Camera Settings (the camera icon) -> Page 4 -> Interval Timer
Enable -> INFO. Detail Set to adjust the settings
I usually stick with 00:00:01 or 00:00:02 with my No. of Shots at 00 Unlimited. Click Set OK.
Pop your camera on a tripod or level surface in the direction you want to shoot. I use the built-in timer for further away shots where I can have my aperture around f/8 or f/16. If I want something closer, I’ll have my boyfriend stand so I can focus on him since most of the photos are of us together.
Press the shutter and run around! I’ll try a new pose every couple of seconds in case I was moving during one of the shutter clicks. Once I’m done, I run back to the camera and turn it off - as that's the only way to end the interval timer.
Turn your camera back on and review your photos and adjust/change settings as needed! This is my second favorite way to take self portraits and is so easy and quick when you have someone to initially focus on.
Some tips: There is no way to have a delayed start in the built-in interval timer so if you’re running into a far off distance, just book it and run as fast as you can, or ask a friend to start the shutter for you.
built in intervalometer examples & settings

Built in Interval timer on Canon 5D Mark IV
ISO 1250, 35mm f/5.6 1/80 second
This photo was taken way wider, with the whole road in view and then cropped in
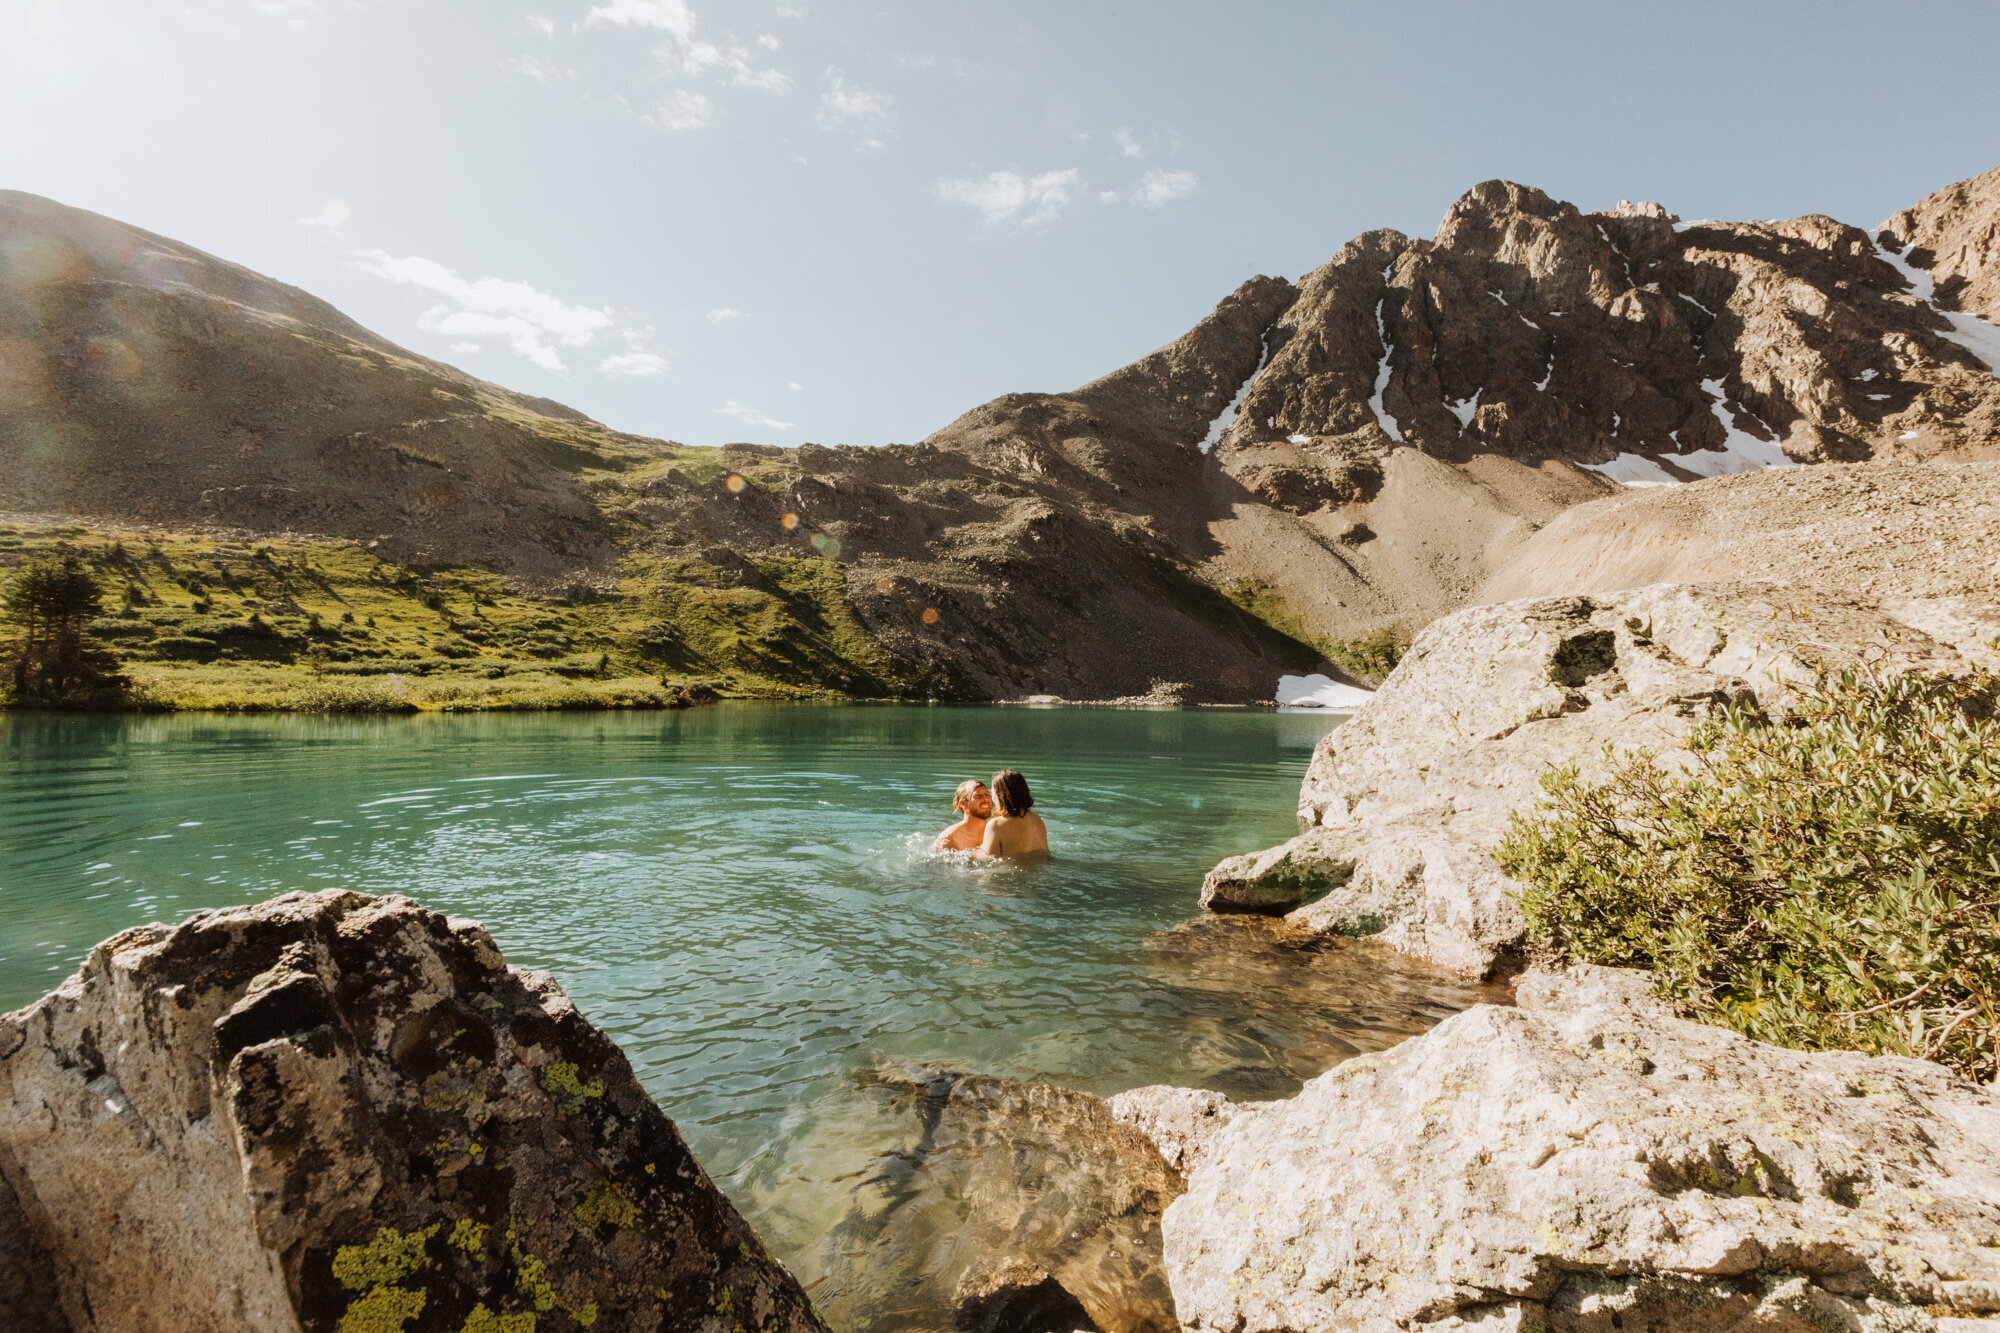
Built in Intervalometer on Canon 5D Mark IV, firing every 2 seconds
16-35 lens at 16mm because I wanted as much of the lake as I could get
ISO 2000 because it was only 8am and I hadn’t looked at my camera settings since our hike up when it was still sunrise/dark (hell yeah we swam in an alpine lake at 8am)
f/22 because the 16-35 lens isn’t tack sharp and I wanted everything in focus
1/400 second so we wouldn’t be blurry
Canon 5D Mark IV Built in Intervalometer - I focused on Keith then actually had my mom press the shutter for this since she was there and it took me a minute to run up.
16-35mm lens at 21mm just cropping in camera so I wouldn’t have to cut down on file size in post
ISO 3200, it was actually really dark, after sunset ,and we were backlit by the ambient light as the sun set behind us and to the right
f/5.6 because the 16-35 has pretty spotty focus this far away so I wanted to give us some leeway
1/25 second so we would hold a pose for 2 seconds, and then move to a different one (I try to keep it above 1/250 but didn’t want to bump my ISO up anymore so we made sure not to move too much)
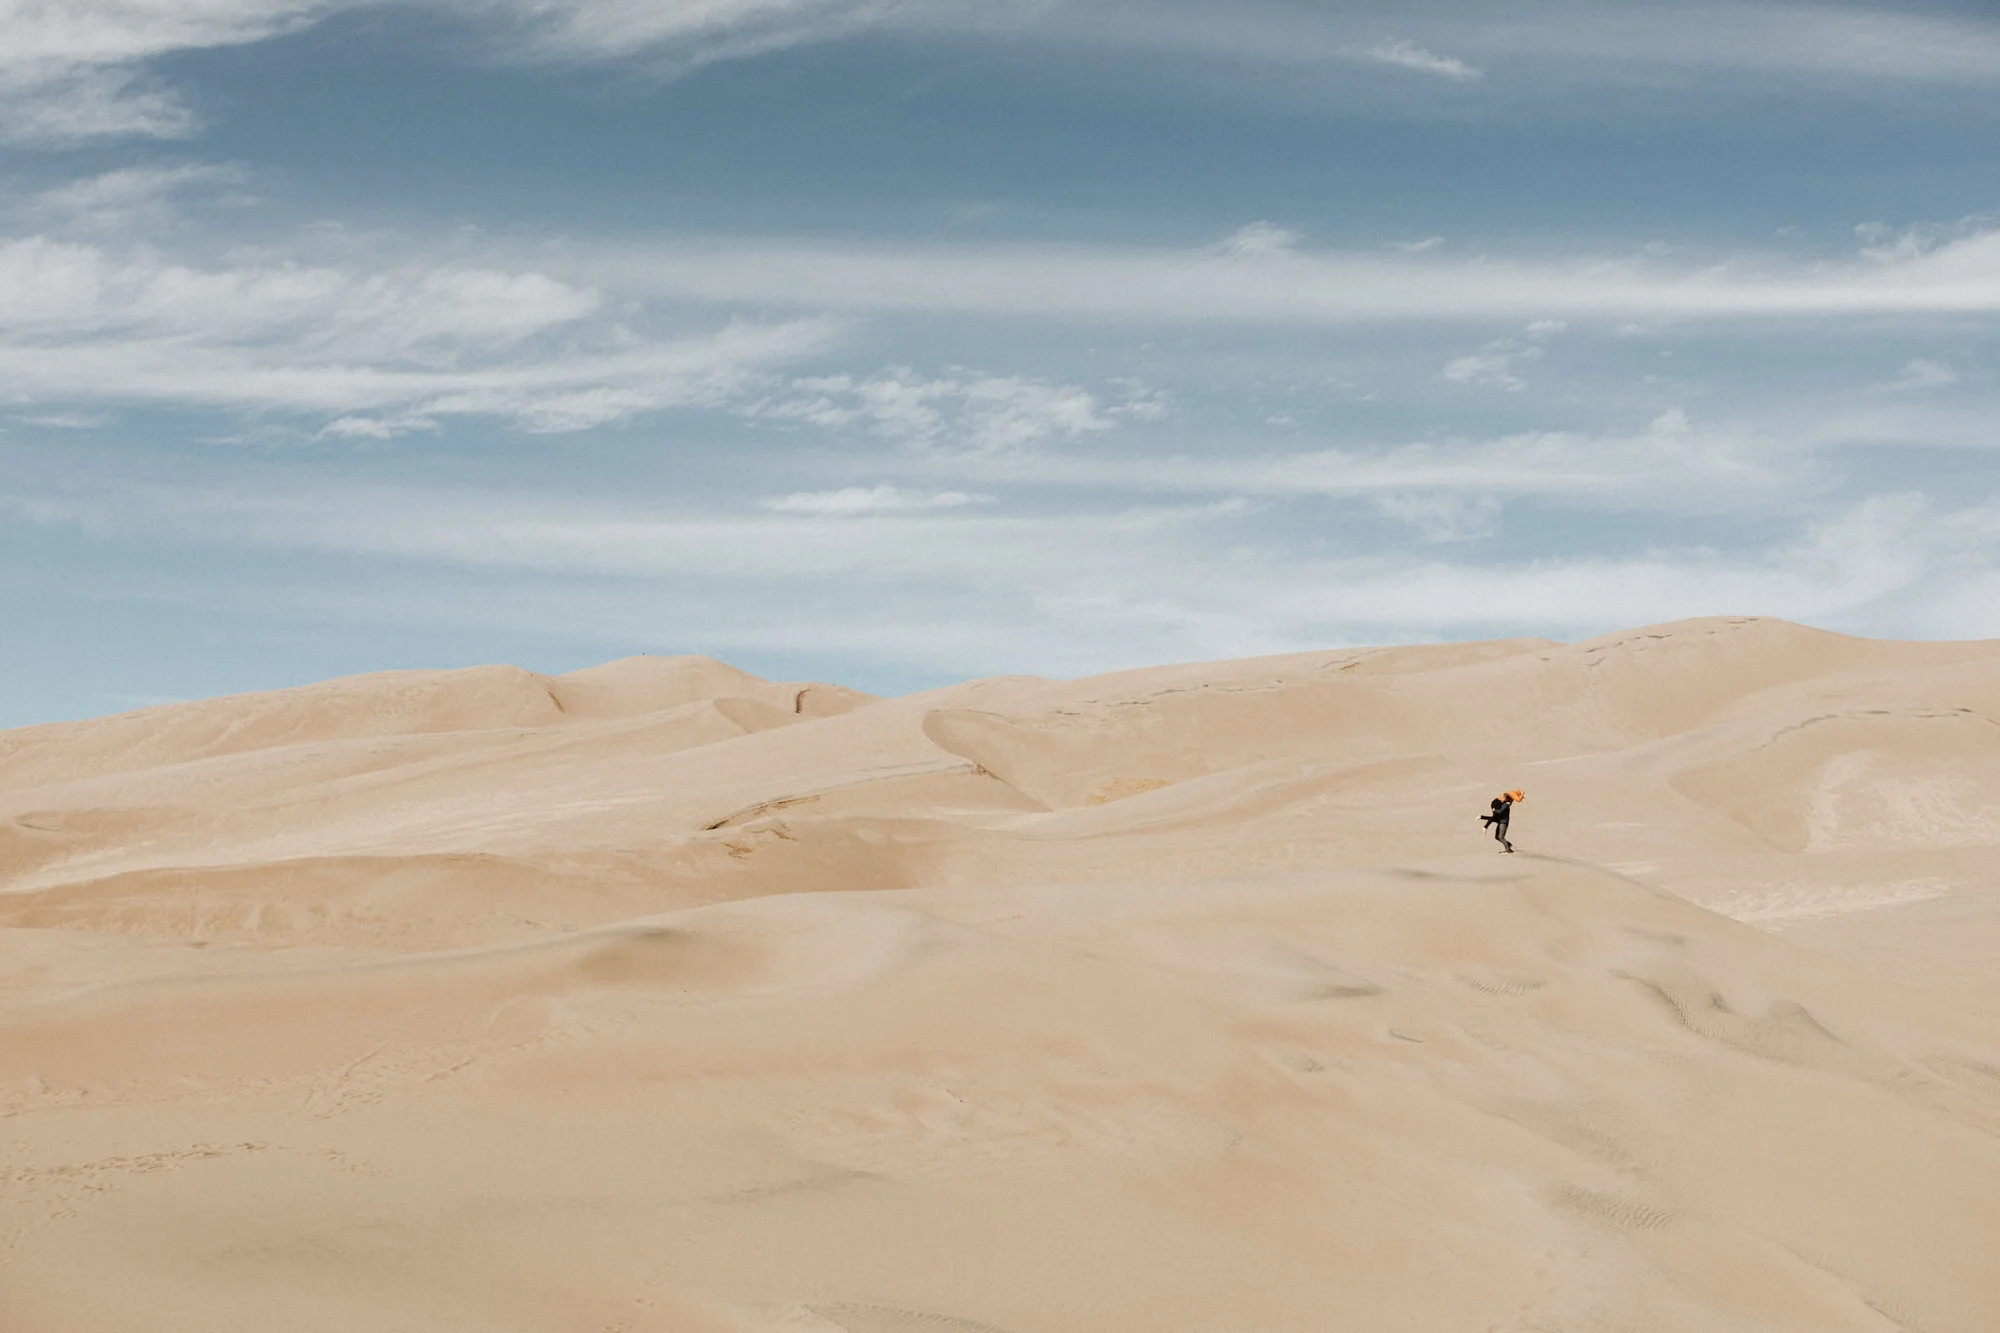
Built in Intervalometer on Canon 5D Mark IV, firing every two seconds
16-35mm 2.8 lens at 35mm to cut on the distortion that happens at 16mm
ISO 50 because it was midday and the sun was out in full force
f/5.0 but I knew where we would be running to so I focused on the sand dune we are standing on
1/640 second
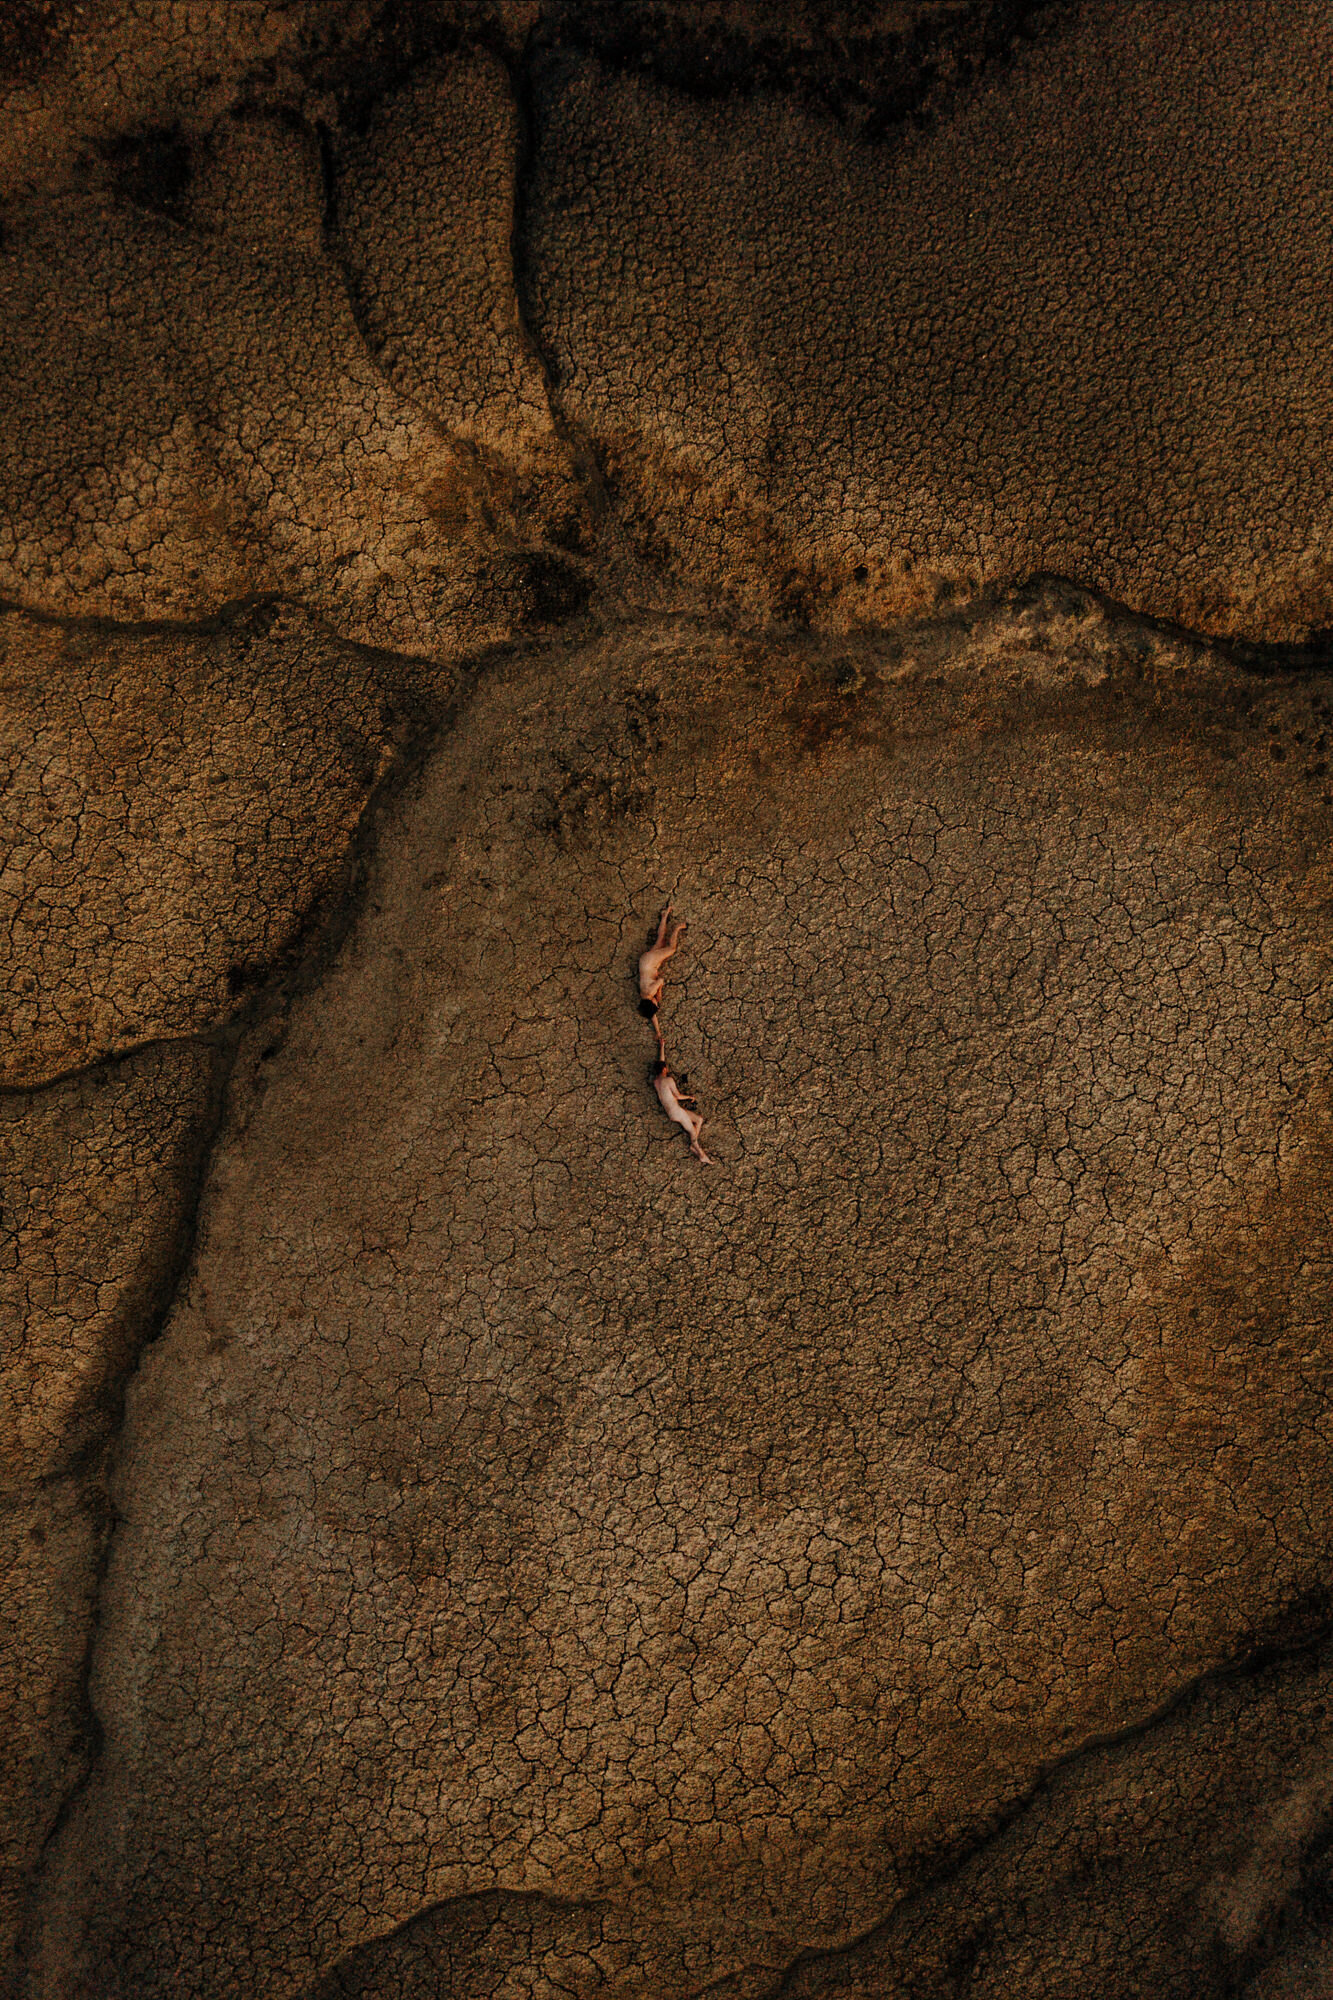
How to Take Self Portraits With a Drone
Another way I love to take self portraits is with a drone. I spend a lot of time in the middle of nowhere on BLM or National Forest land so as long as I know drones are allowed, I’ll often ask my partner Keith to pop it up to get some photos of us. It works great on overlooks, for video, or with directly overhead shots! Usually I’ll pose us and he’ll press the shutter button on the remote, and then I’ll edit it out of his hand later (or if it is far enough away that it’s not too noticeable, I’ll leave it). These were all taken with a DJI Mavic Pro.

Whether you want to take photos of yourself at the end of your latest hike, or you want to build your portfolio of couples traveling by photographing you and your partner (thats me!), self portraits are a great way to document a moment while allowing yourself to be present in a photo. There are only so many years of not being in photos one can take before you start to learn how to master self portraits and include yourself in the frame. I’d love to see some of your self-portraits, link them in the comments below!
If self portraits aren’t your jam, or you’re just ready for some more intimate photos - schedule a free consultation with me because I would LOVE to be that person for you.
If YOU’RE LOOKING FOR…
Easy, no-hike adventures: No sweating required!
Connection and intimacy with loved ones: Friends and family are absolutely invited.
Deep local knowledge: Originally from Ohio, I've spent the last 11 years exploring every corner of Colorado.
Customized packages: Not feeling the options? Let's create something just for you.
Detailed planning assistance: From crafting your timeline to coordinating with vendors.
Pet-friendly options: Everything is better with dogs involved!
High-quality imagery: Breathtaking shots that perfectly encapsulate the magic of your elopement.
YOUR STRESS-FREE ELOPEMENT JOURNEY STARTS HERE